This window is used to create and modify material definitions. The material definitions created here will show up in the pulldown menu in the Graphics window, allowing you to apply a material to a given representation.
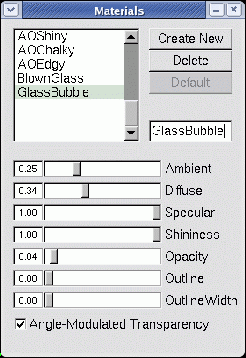
The upper left corner of the Materials window contains a browser listing all the currently defined materials. Below this browser is a set of five sliders which indicate the current materials settings for the material highlighted in the browser. Highlighting a different material in the browser by clicking with the mouse will update the settings of the sliders. Conversely, moving the sliders will change the definition of the the currently highlighted material in the browser. Pressing the "Default" button will restore either of the first two materials, "Opaque" and "Transparent", to their original settings.
To create a new material, press the "Create New" button in the upper right corner of the window. A new material with a default name will be created and displayed in the browser window. This name can be changed at any time to something more descriptive by typing in the input box to the right of the material browser and pressing "enter" (note that the names of "Opaque" and "Transparent" cannot be changed). You can now edit the properties of this material using the sliders at the bottom of the window. All materials in the materials browser, including those you create, will appear in the Material pulldown menu in the Graphics window.
To experiment with the material settings, first create a new material so that you can edit its values. Next, load any molecule, change its drawing method to VDW representation, and using the Material pulldown menu in the Graphics window, change the representation's material to the material you just created. Now, go back to the Materials window, highlight the new material in the browser, and change some of the values in the sliders. The effect of changing shininess should be especially dramatic.